How to take a full-page screenshot in Chrome
Chrome can capture a whole scrolling page without any software beyond the browser. Here is every method, fastest first.
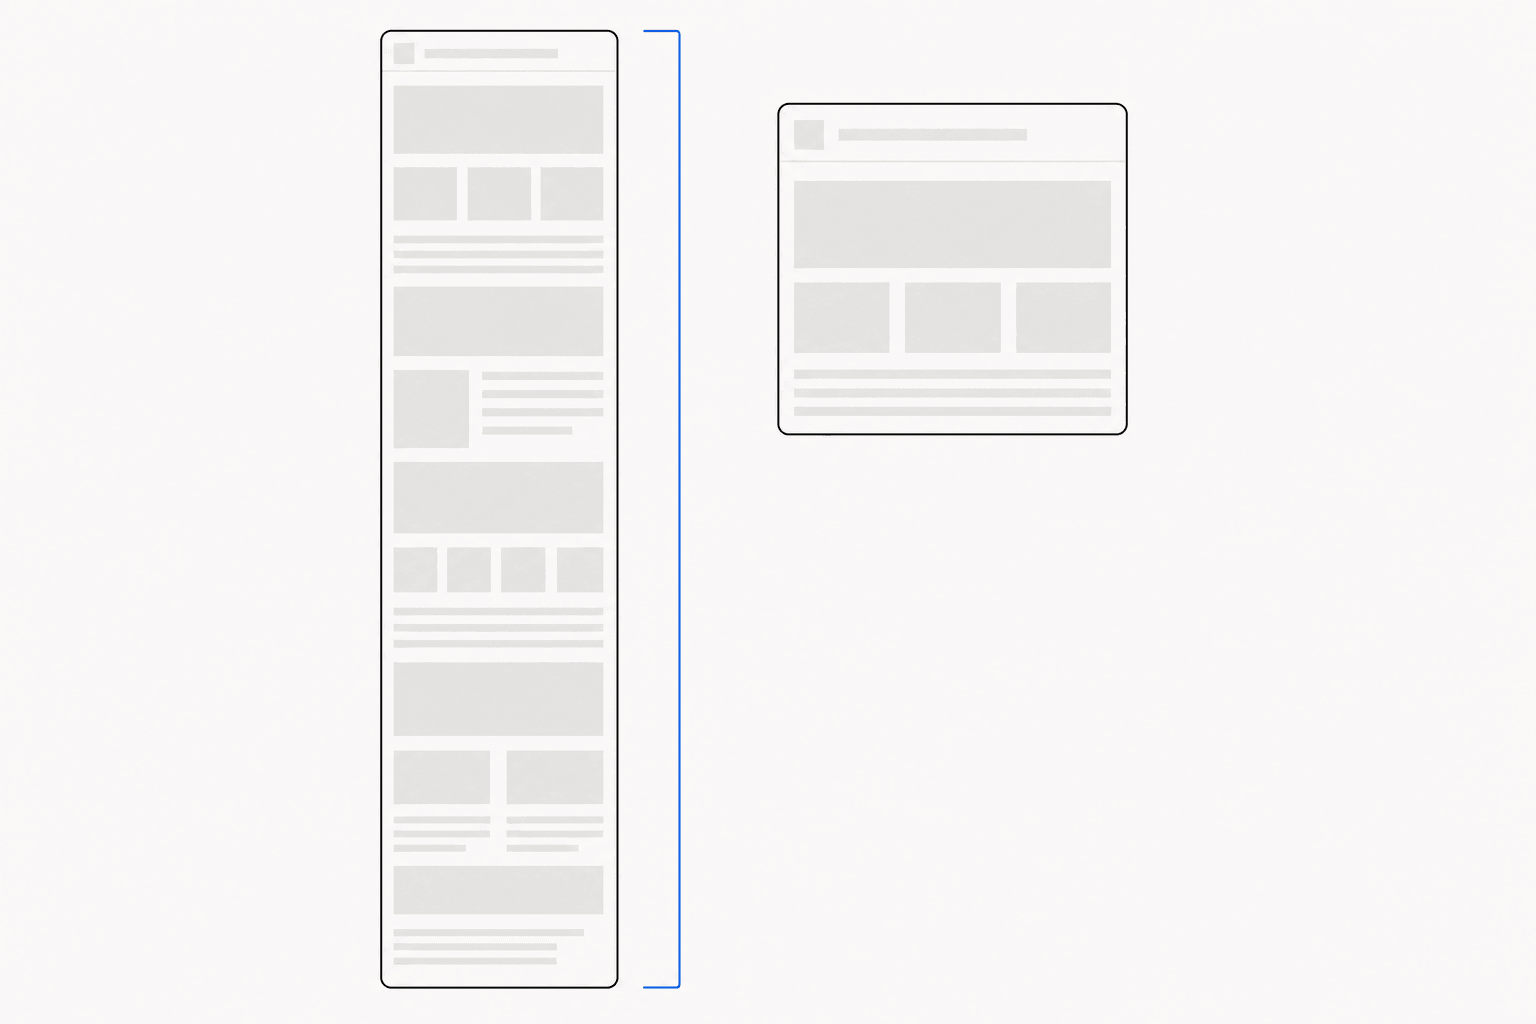
Chrome has shipped a genuine full-page capture tool since 2017, hidden where most people never look. If you want a full page screenshot in Chrome — the entire scrolling document, top to bottom, as one sharp PNG — you can get it with roughly four keystrokes and nothing installed. Extensions still earn their keep for repeat captures and for pages that fight the built-in method, and this guide covers those too. Every method that works, fastest first.
The fastest method: the DevTools command menu
The whole procedure takes about ten seconds:
- Open the page you want to capture, then open DevTools with Cmd+Option+I on a Mac or Ctrl+Shift+I (or F12) on Windows and Linux.
- Press Cmd+Shift+P (Ctrl+Shift+P on Windows) to open the command menu.
- Type "full" and choose Capture full size screenshot.
- Chrome renders the entire document and downloads it as a PNG.
Note the verb: renders. DevTools does not scroll the page and photograph it in slices. It asks Chrome's rendering engine to lay out the complete document at its full height and paints the whole thing in one pass. That is why this method usually produces the cleanest result: sticky headers appear once, animations cannot tear across seams, and there are no stitch lines. The capture happens at your current window width and device pixel ratio, both of which you can control — more on that below.
The method has real limits. Pages that virtualize their content — rendering only what is near the viewport, as long feeds and some data tables do — hand DevTools a document far shorter than what you would see by scrolling. Heavy fixed-position overlays occasionally land in odd places. And the output is a raw PNG with no way to annotate, redact, or resize before it hits your downloads folder.
Set an exact width with the device toolbar
A full-page capture inherits whatever width your window happens to be, which is fine for one-off grabs and wrong for anything repeatable. Documentation screenshots, for instance, should share one canonical width so a series reads as a deliberate set — the case made at length in our guide to screenshots for documentation.
The device toolbar fixes the width. Press Cmd+Shift+M (Ctrl+Shift+M) while DevTools is open, type an exact viewport width such as 1280, and set the DPR control to 2 if you are on a standard-density display. Then run the same Capture full size screenshot command. Every capture taken this way comes out identical in width and density, whichever machine or monitor you are on that day.
When an extension is the better tool
Three situations favour an extension. You capture full pages often enough that opening DevTools each time is friction. The page virtualizes content, so the one-pass render comes up short. Or you need to do something to the screenshot — annotate, redact, resize — and want that in the same flow as the capture.
Most extensions take the opposite approach to DevTools: scroll-and-stitch. They scroll the page one viewport at a time, capture each stop, and assemble the slices into one tall image. GoFullPage is the specialist here — focused on full-page capture and good at it. ReadyStill includes full-page capture as a beta mode that scrolls and stitches locally in your browser, so screenshot pixels never leave your machine, then drops the result straight into its finishing tools: annotation, redaction, styled framing, and multi-size export. If you are weighing the options, our comparison of Chrome screenshot extensions covers the field honestly.
| Method | Built in | How it captures | Best for |
|---|---|---|---|
| DevTools command menu | Yes | Renders the whole document in one pass | Occasional captures, cleanest output |
| Device toolbar + capture | Yes | One-pass render at a fixed width and DPR | Repeatable series at a canonical width |
| Extension | No | Scrolls, captures each viewport, stitches | Frequent captures, editing after capture |
Why a full page screenshot in Chrome comes out wrong
Tall captures fail in predictable ways. Four cover almost every case.
- Repeated sticky headers. A stitched capture photographs the viewport at every scroll stop, and a sticky header rides along to each one, so it reappears at every seam. Switch to the one-pass DevTools method, or open the Elements panel and change the header from sticky to static positioning before capturing.
- Blank gaps where images belong. Lazy-loaded images only load as they approach the viewport. Scroll to the bottom of the page, give it a moment, then capture — by then everything has arrived.
- Infinite scroll. A feed has no bottom, so no tool can capture "all" of it. Decide where the capture should end, or reconsider the deliverable: a capture of one element or region usually communicates more than 40,000 pixels of feed. ReadyStill's choose-element mode exists for exactly this — click the panel that matters and skip the rest.
- Extreme height. Browsers cap the size of an image canvas, and a very tall page can exceed it, failing outright or silently downscaling. Capture the page in sections instead.
Keep the capture sharp
Sharpness is decided at capture time by device pixel ratio. On a Retina or other high-density display Chrome captures at 2×, and text survives resizing and compression. On a standard 1× monitor you get half the pixels — set DPR to 2 in the device toolbar before capturing and the difference is immediately visible.
After capture, only ever scale down. Downscaling from 2× to a target size keeps edges crisp; upscaling manufactures blur that no amount of sharpening recovers. If the capture is heading for a feed or a blog, resize deliberately to the platform's preferred dimensions — our screenshot size cheat sheet lists them. ReadyStill applies the same principle on export: every size in its Launch Pack renders at 2×, so the 1600×900 landscape ships as 3200×1800.
One honest caveat: a full-page capture is often the wrong deliverable for sharing. A 12,000-pixel-tall image is unreadable in a feed and unwieldy in a bug tracker. If the goal is to communicate rather than archive, capture the section that matters and finish it properly — see how to make screenshots look professional.
The short version
- One-off capture: DevTools, Cmd+Shift+P, Capture full size screenshot.
- Repeatable series: device toolbar first — fixed width, DPR 2 — then the same command.
- Frequent captures or editing afterwards: use an extension that stitches locally.
- Header repeating: use the one-pass method or unstick it in the Elements panel.
- Blank images: scroll to the bottom before you capture.
- Publishing: downscale from 2×, never upscale.
Common questions
Can Chrome take a full-page screenshot without an extension?
Yes. Open DevTools, press Cmd+Shift+P (Ctrl+Shift+P on Windows), and run Capture full size screenshot. Chrome renders the entire document in one pass and downloads it as a PNG.
Why does my full-page screenshot repeat the header?
The capture was stitched together from scroll stops, and a sticky header follows the viewport to every stop. Use the one-pass DevTools capture instead, or set the header to static positioning in the Elements panel before capturing.
Is there a single keyboard shortcut for full-page capture in Chrome?
Not built in. The fastest native route is a short sequence: open DevTools, press Cmd+Shift+P, then run Capture full size screenshot. Extensions can bind full-page capture to one shortcut if you take these daily.
Does ReadyStill capture full pages?
Yes, as a beta capture mode that scrolls and stitches locally in your browser, so screenshot pixels are never uploaded. The capture drops straight into ReadyStill's styling, annotation, redaction, and export tools.