How to redact sensitive information in screenshots
Not every redaction method actually destroys the information underneath. Choose deliberately.
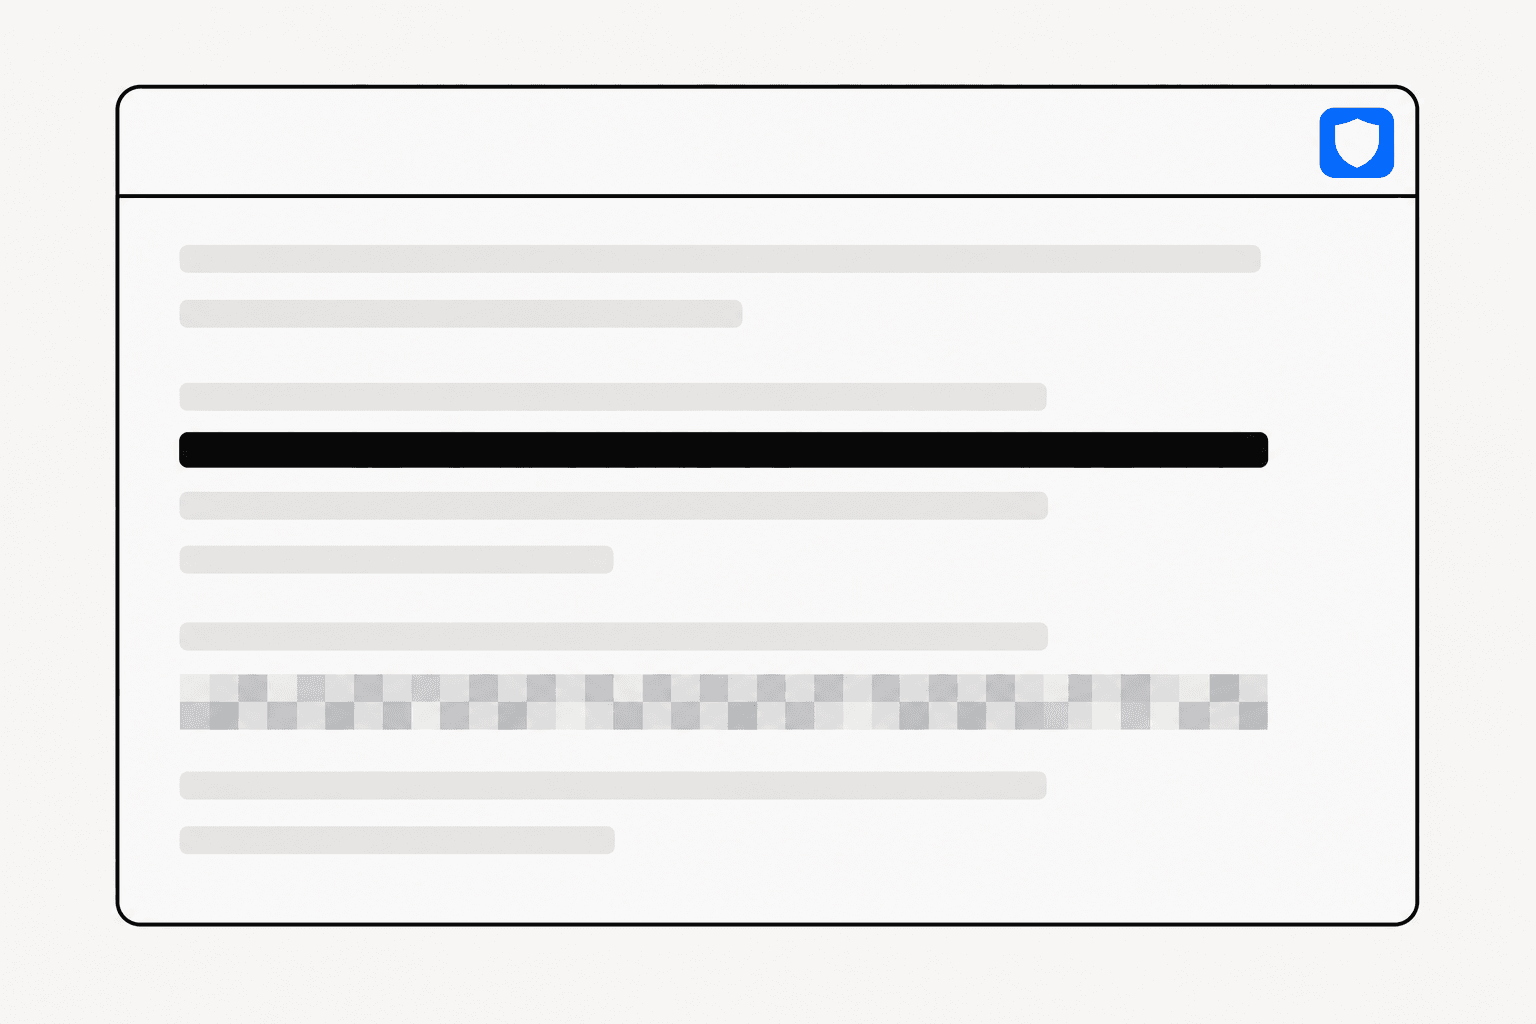
A screenshot copies everything inside the frame, not only the thing you meant to show. To redact sensitive information in screenshots properly, you need to make two decisions: which regions to cover, and which method to cover them with. Both matter, because some popular redaction methods leave the original data recoverable, and most leaks come from parts of the screen people never look at.
What actually leaks in a screenshot
Start with an inventory. In a browser capture, the sensitive material is rarely limited to the obvious field in the middle of the page. The common leak zones:
- Neighbouring tabs. Tab titles reveal client names, internal tools and half-written email subjects.
- The URL bar. Query strings carry session tokens, document IDs and internal hostnames.
- Sidebars and account chrome. Your signed-in email, workspace names, unread counts and channel lists.
- Notification pop-ups. A message preview can land in the corner mid-capture.
- The content itself. Emails, phone numbers, API keys and customer records — the data you were actually working with.
The cheapest defence is to capture less. A region or element capture that includes only the panel you need has a fraction of the leak surface of a full-window shot. If you do need a long capture — say for documentation or an audit trail — read our guide to full page screenshots in Chrome and budget extra review time, because everything below the fold ships too.
Bar, pixelate or blur: only two of these destroy data
Redaction is destruction. Whatever you draw over a sensitive region must leave nothing of the original pixels behind, and the three common methods are not equal on that test.
A solid bar at full opacity replaces every covered pixel with a flat colour. Once the image is flattened, there is no signal left to recover. This is the correct default for anything textual: keys, emails, amounts, names.
Pixelation averages the image into blocks. Coarse blocks over text in an unknown font are genuinely hard to reverse. Small blocks over text in a known font are not: public tools reconstruct pixelated text by rendering candidate strings and matching the resulting mosaics. Pixelation earns its keep on faces and imagery, where you want the viewer to know something was there without knowing what.
Blur is the weakest of the three. A blur is a filter, not a removal — it redistributes the original values rather than deleting them, and researchers have shown repeatedly that blurred text can often be reconstructed. Treat blurred text as readable.
| Method | What happens to the pixels | Safe for text? | Good for |
|---|---|---|---|
| Solid bar | Replaced entirely | Yes | Keys, emails, amounts, names |
| Pixelate | Averaged into blocks | Only with large blocks | Faces, photos, imagery |
| Blur | Redistributed, not removed | No | Nothing sensitive |
This is why ReadyStill ships only the first two: redactions are drawn as a solid bar or a pixelate region, because blur fails the destruction test.
How to redact sensitive information in screenshots, step by step
- Capture the minimum.Prefer an element or region capture over a full window. ReadyStill's choose-element mode grabs a single panel or card, which removes tabs, URL bar and sidebars from the problem entirely.
- Sweep the edges. Before touching the content, check the frame boundary: tab strip, address bar, corners, sidebars. This is where the surprises are.
- Cover text with solid bars. Extend each bar slightly past the text so string length is not readable from the bar width alone.
- Pixelate imagery. Faces, photos and thumbnails can take a coarse pixelation where a black bar would look heavy-handed.
- Run a second pair of eyes.ReadyStill's privacy review scans the capture locally for emails, phone-like values and credential-like fields, suggests areas to redact, and shows a privacy count before you share. Everything runs in the browser — screenshot pixels are never uploaded. You can install ReadyStill and test this on your own screen in a minute.
- Flatten and export. More on why this step is not optional below.
Keep redaction visually distinct from annotation. Arrows, highlights and step badges direct attention; redaction removes information. If the same image needs both, do the redaction first, then follow the patterns in our guide to annotating screenshots.
Flatten before you share
How you export matters as much as what you cover. There are two known failure modes. First, removable layers: some editors keep a redaction as a separate object floating above the image, so anyone who opens the file in the right tool can drag the rectangle away. Second, leftover data: flawed screenshot editors have shipped bugs that left cropped-away image data inside the saved file, recoverable by anyone who knew where to look.
The fix is boring: export a flattened raster from the same tool that applied the redaction, and share that file. ReadyStill's exports — copy PNG to clipboard or download PNG — are flattened renders, so the bar is baked into the pixels rather than sitting above them.
This discipline matters most in high-volume workflows. Bug reports are full of console output, request URLs and auth headers, and support replies routinely quote real account data. Those are exactly the images that end up in public trackers and help centres, which is where a recoverable blur becomes an incident.
The 20-second pre-share checklist
- Captured the minimum region, not the whole window
- Edges swept: tabs, URL bar, corners, sidebars, notifications
- Text covered with solid bars — never blur
- Faces and imagery pixelated at a coarse block size
- Exported as a flattened PNG from the tool that drew the redaction
Run it every time until it is reflexive. Redaction fails quietly — you find out weeks later, and usually from someone else.
Common questions
Can blurred text in a screenshot be recovered?
Often, yes. Blur redistributes pixel values instead of deleting them, and reconstruction techniques have recovered blurred text in published research and public tools. Treat any blurred text as readable and use a solid bar instead.
Is pixelation ever safe for redacting text?
Only at coarse block sizes. Small pixel blocks over text in a known font can be reversed by rendering candidate strings and matching the resulting mosaics. If the underlying content is text, a solid bar is the safer default; save pixelation for faces and imagery.
Does ReadyStill upload my screenshots to scan for sensitive data?
No. The privacy review runs locally in your browser, where it detects emails, phone-like values and credential-like fields and suggests areas to redact. Screenshot pixels are never uploaded; only your account email and sign-in tokens touch the server.
Why does the export format matter after I have redacted?
Some editors store a redaction as a separate object sitting above the image, which a recipient can delete to reveal the original. Flawed editors have also left cropped-away data inside saved files. Export a flattened PNG from the tool that applied the redaction so the cover is baked into the pixels.